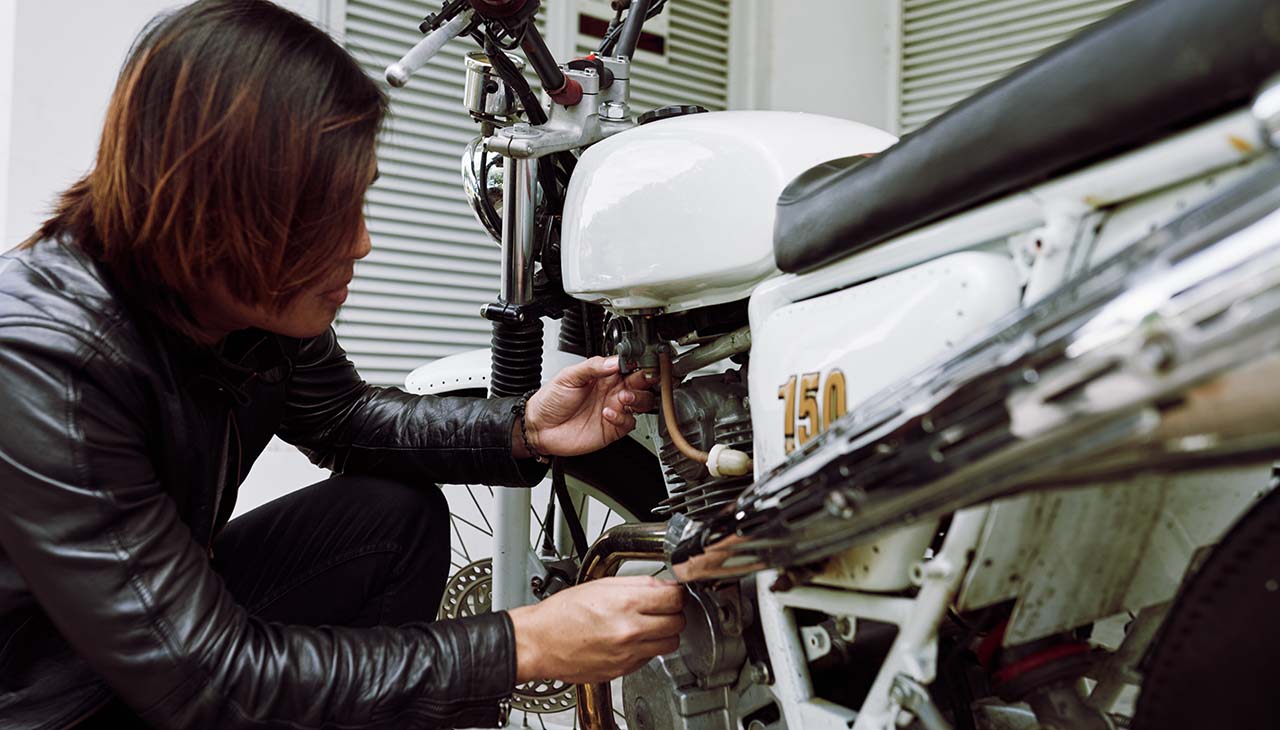
Welcome to the beginner’s guide on DIY motorcycle repair, specifically focused on how to replace common parts. Whether you’re a new rider, a seasoned motorcyclist looking to brush up on your repair skills, or someone interested in the workings of motorcycles, this guide is tailored for you. We’ll walk through the step-by-step processes of identifying when parts need replacing, selecting the right tools, and executing the replacement efficiently and safely. From changing your oil to replacing brake pads and beyond, you’ll learn how to keep your motorcycle running smoothly while saving money on maintenance and repair costs. Get ready to empower yourself with the knowledge and confidence to tackle basic motorcycle repairs.
Tools and Safety Precautions
Before we jump into the intricacies of motorcycle repair, it’s crucial to compile a toolkit with all the essential tools you will need. Additionally, adhering to safety precautions and best practices is non-negotiable to ensure a safe and effective repair process.
Essential Tools for Motorcycle Repair:
- Wrench Set – A complete set of wrenches (metric & standard) is vital for loosening and tightening various bolts and nuts.
- Socket Set – Necessary for areas where a wrench cannot reach or fit.
- Screwdrivers – A variety of flathead and Phillips screwdrivers in different sizes.
- Pliers – Both needle-nose and standard pliers for gripping small parts.
- Torque Wrench – To ensure bolts are tightened to the correct specifications.
- Oil Drain Pan – For catching oil during changes.
- Funnel – Useful for adding fluids without spilling.
- Motorcycle Stand – Stabilizes the bike and makes it easier to work on.
- Multimeter – For electrical diagnostics and troubleshooting.
- Rubber Mallet – Helpful for loosening parts without causing damage.
Safety Precautions and Best Practices:
- Wear Protective Gear: Always wear gloves and eye protection to guard against potential splashes or debris.
- Work in a Well-Ventilated Area: Especially important when dealing with fluids or if you need to start the motorcycle.
- Use the Correct Tool for the Job: Avoid using makeshift tools as they can cause injury or damage to your motorcycle.
- Lift and Support the Motorcycle Securely: Ensure your motorcycle stand or lift is sturdy and properly positioned to prevent the bike from falling.
- Disconnect the Battery Before Electrical Work: To prevent shocks or accidental short circuits, always disconnect the battery when working on the electrical system.
- Follow the Manufacturer’s Manual: For specific torque specs, part numbers, and procedures, refer to your motorcycle’s owner manual.
- Keep a Clean Work Area: A tidy workspace not only helps in avoiding accidents but also makes it easier to keep track of tools and small parts.
By preparing your workspace with these essential tools and adhering to the outlined safety precautions, you’ll be well-equipped to tackle common motorcycle repairs safely and efficiently.
Oil and Filter Replacement
Regular Maintenance of Oil and Filter
Regular oil changes are a fundamental part of motorcycle maintenance. Fresh oil lubricates and cools the moving parts inside your engine, preventing wear and tear, while a new oil filter keeps the oil clean from debris. The process enhances your motorcycle’s performance and longevity, making it an essential routine for every rider.
Step-by-Step Guide to Replacing the Oil and Oil Filter:
- Prepare Your Workspace: Ensure the motorcycle is stable on the stand in a well-ventilated area. Have your tools and new oil and filter ready.
- Warm Up Your Motorcycle: Start the engine and let it run for a few minutes. Warm oil drains faster and more completely.
- Drain the Old Oil:
- Position the oil drain pan under the oil drain plug.
- Using the correct size wrench, carefully remove the drain plug.
- Wait until all the old oil has drained out, then reinstall and tighten the drain plug to the manufacturer’s specified torque.
- Replace the Oil Filter:
- Remove the old oil filter using an oil filter wrench. Some oil may spill, so keep the drain pan underneath.
- Lubricate the rubber gasket of the new oil filter with a bit of fresh oil.
- Install the new filter by hand, ensuring it’s snug but not overtightened.
- Add New Oil:
- Locate the oil filler cap and remove it.
- Using a funnel, pour in the recommended type and amount of oil according to your motorcycle’s manual.
- Replace the oil filler cap.
- Check Oil Levels:
- Start the motorcycle and let it run for a few minutes to circulate the new oil.
- Turn off the engine and wait a few minutes for the oil to settle.
- Use the dipstick or sight glass to check oil levels, adding more if necessary to reach the full mark.
- Clean Up and Dispose of Waste: Wipe away any spills with rags. Ensure used oil and the old filter are disposed of properly according to local regulations.
Regular oil and filter changes, as recommended by your motorcycle manufacturer, can vastly improve your engine’s performance and longevity. This simple yet crucial maintenance task is something every rider should learn and perform consistently.
Brake Pad Replacement
Replacing the brake pads on your motorcycle is a critical maintenance task that ensures your safety and the effectiveness of your brakes. Worn brake pads can lead to decreased stopping power and increased stopping distances, so it’s important to inspect and replace them regularly.
Steps for Replacing Motorcycle Brake Pads:
- Safety First: Secure your motorcycle on the stand and ensure it is stable. Wear gloves and eye protection.
- Remove the Wheel: Depending on your motorcycle, you may need to remove the wheel to access the brake pads. Use your motorcycle’s manual for guidance on this step.
- Access the Brake Caliper: Locate the brake caliper and remove it from the mount. You may need to use a socket set or wrenches depending on your motorcycle model.
- Remove the Old Brake Pads: Once the caliper is accessible, remove the retaining pins or bolts that hold the brake pads in place. Slide out the old brake pads and note their orientation for reference when installing new pads.
- Inspect the Brake System: Before installing new pads, inspect the brake caliper, pistons, and rotor. Look for signs of wear or damage such as deep grooves in the rotor or leaking brake fluid. If you find any issues, address these before proceeding.
- Compress the Caliper Pistons: Using a brake caliper tool or a large C-clamp, gently compress the caliper pistons back into the caliper housing. This is necessary to make room for the new, thicker brake pads.
- Install New Brake Pads: Apply a thin layer of brake pad lubricant to the back of the new pads (not the friction material). Then, place the new pads into the caliper, ensuring they are correctly oriented. Reinstall the retaining pins or bolts.
- Reattach the Brake Caliper: Once the new pads are securely in place, reattach the caliper to its mount on the motorcycle. Ensure all bolts are tightened to the manufacturer’s specified torque.
- Reinstall the Wheel (if removed): Carefully place the wheel back on the motorcycle, ensuring it is properly aligned and secure.
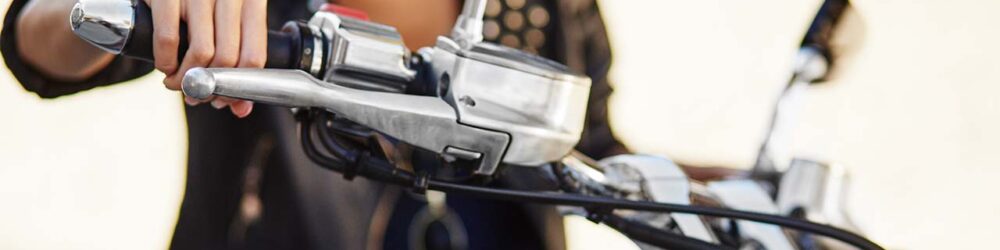
- Pump the Brakes: Before riding, pump the brake lever or pedal several times until the brake pads are seated against the rotor and the lever or pedal feels firm. This step fills the caliper with brake fluid and ensures the brakes are engaged.
- Test Ride: Conduct a slow, careful test ride to ensure the brakes are functioning correctly. Start with gentle stops and gradually increase to more significant braking efforts to bed in the new pads.
Additional Maintenance Tips:
- Brake Fluid Check: Always check the brake fluid level after changing the brake pads. If the fluid is low or appears dirty, it may be time for a brake fluid change.
- Brake Lines Inspection: Inspect the brake lines for any signs of wear, damage, or leaks. Replace the brake lines if any abnormalities are found.
- Rotor Inspection: Always inspect the brake rotor when changing the pads. If the rotor is significantly worn or damaged, it may also need replacement to ensure optimal braking performance.
By following these detailed instructions and tips, you can effectively replace the brake pads on your motorcycle and conduct necessary inspections to ensure the entire brake system is in good working order.